Providing Data
- Lena Birath
- Stefan Willebrand
Bind Report Controls to Data
This article describes how report controls can be bound to data fields and how calculated fields can be used in your report
Control Bindings
A report control can be bound to a data field in different ways.
- Create a Data-Aware Element
The Report Designer allows you to add a new bound report control using the Field List.
To create a data-aware element, switch to the Field List panel, click the desired field item, and then drag and drop it onto the report band. After this, a control that is bound to the selected data field will appear.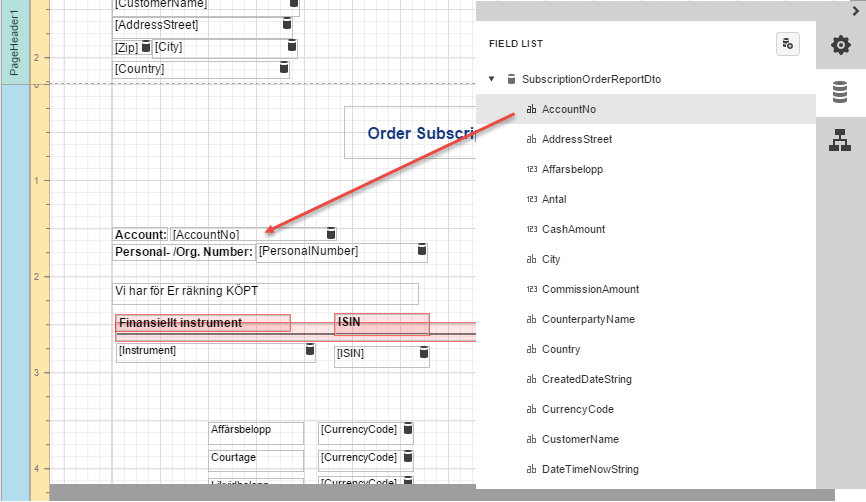
Bind an Element to Data
To bind an existing report element to a data member, select this element, switch to the Properties Panel, and in the Actions category, specify the Data Bindings property. Or in the Properties Panel, expand the Data category, then expand the Data Bindings section, and choose the property you want to bind.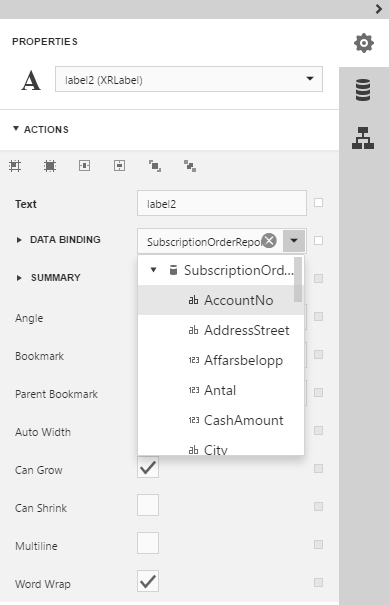
To unbind a control's property, switch to the Properties Panel, and set the Data Bindings property to None.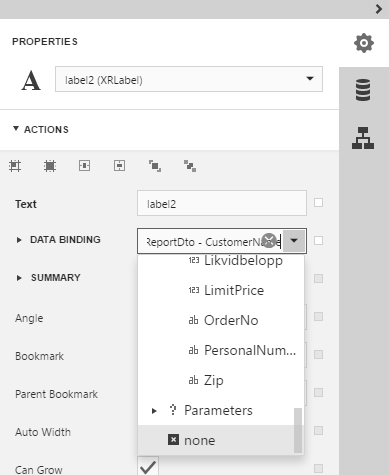
Bind report to a collection of data - Add Fee list to a template
From version 1.8 we have added two new properties that contain fee information.- OrderFeeAmount
- OrderFee object
OrderFeeAmount
This property contains the total fee amount of the order. If there is more than one type of fee on the order, this value contains the sum of all these fees.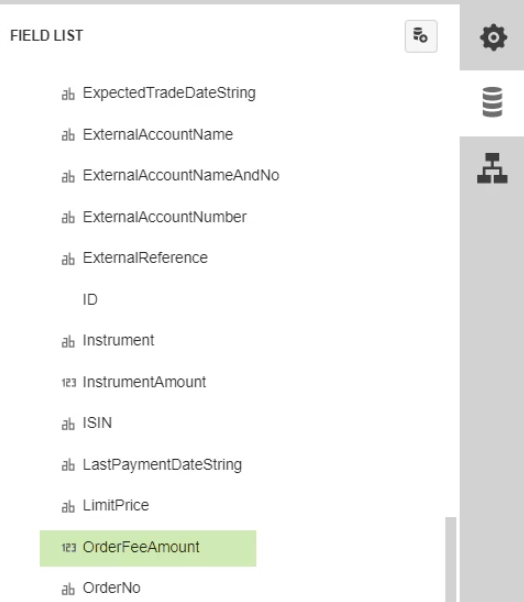
OrderFees
This property consists of a list of all fees that exist on an order. Every OrderFee object contains three values, the fee name in Swedish (FeeNameSv), the fee name in English (FeeNameEn) and the fee value (CalculatedFee, i.e. the actual fee that the customer has paid).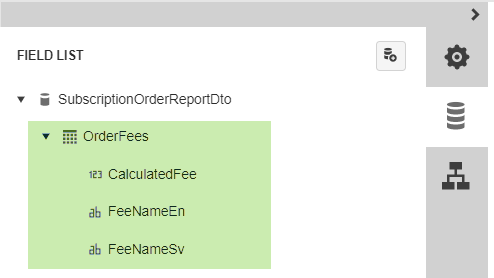
When using Order Fees in the template, all fees that exist on an order is shown as an automatically growing list in the subscription note.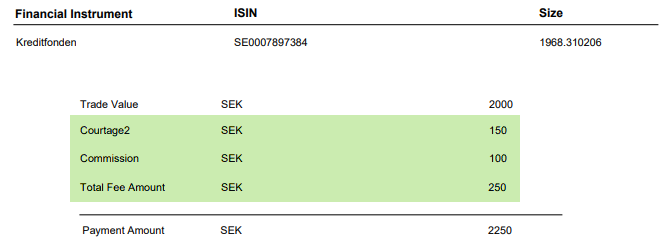
When using Order Fees we need to add a new kind of reporting band called Detail Report Band, which can handle the growing list.
Navigate to the Action menu and click on the button for adding a detailed report band.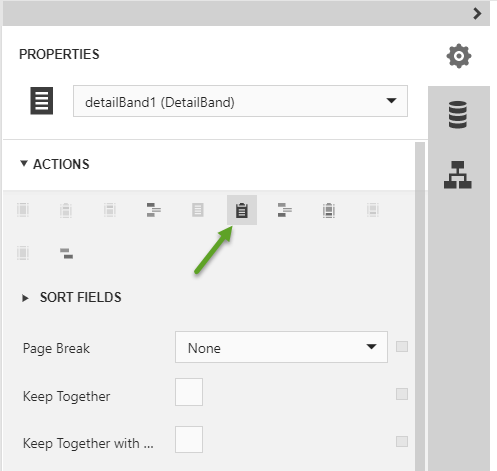
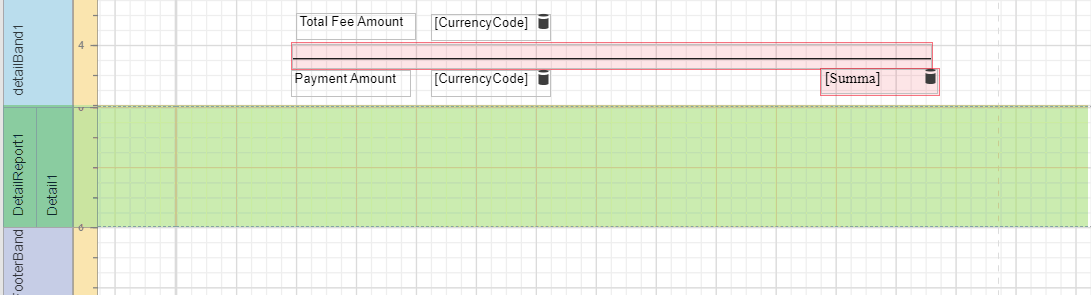
In this example we want the expanded fee list to be in the middle of the list so we have moved some of the text below the Detail report band.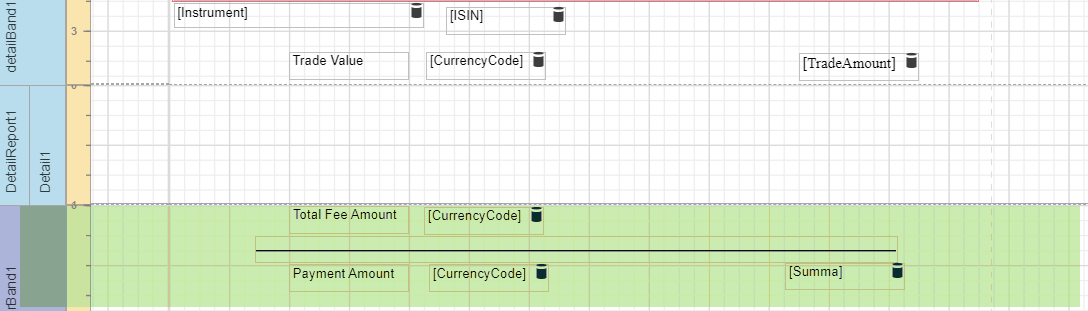
Open the Field list and insert the Calculated Fee and Fee Name in the Detail report band.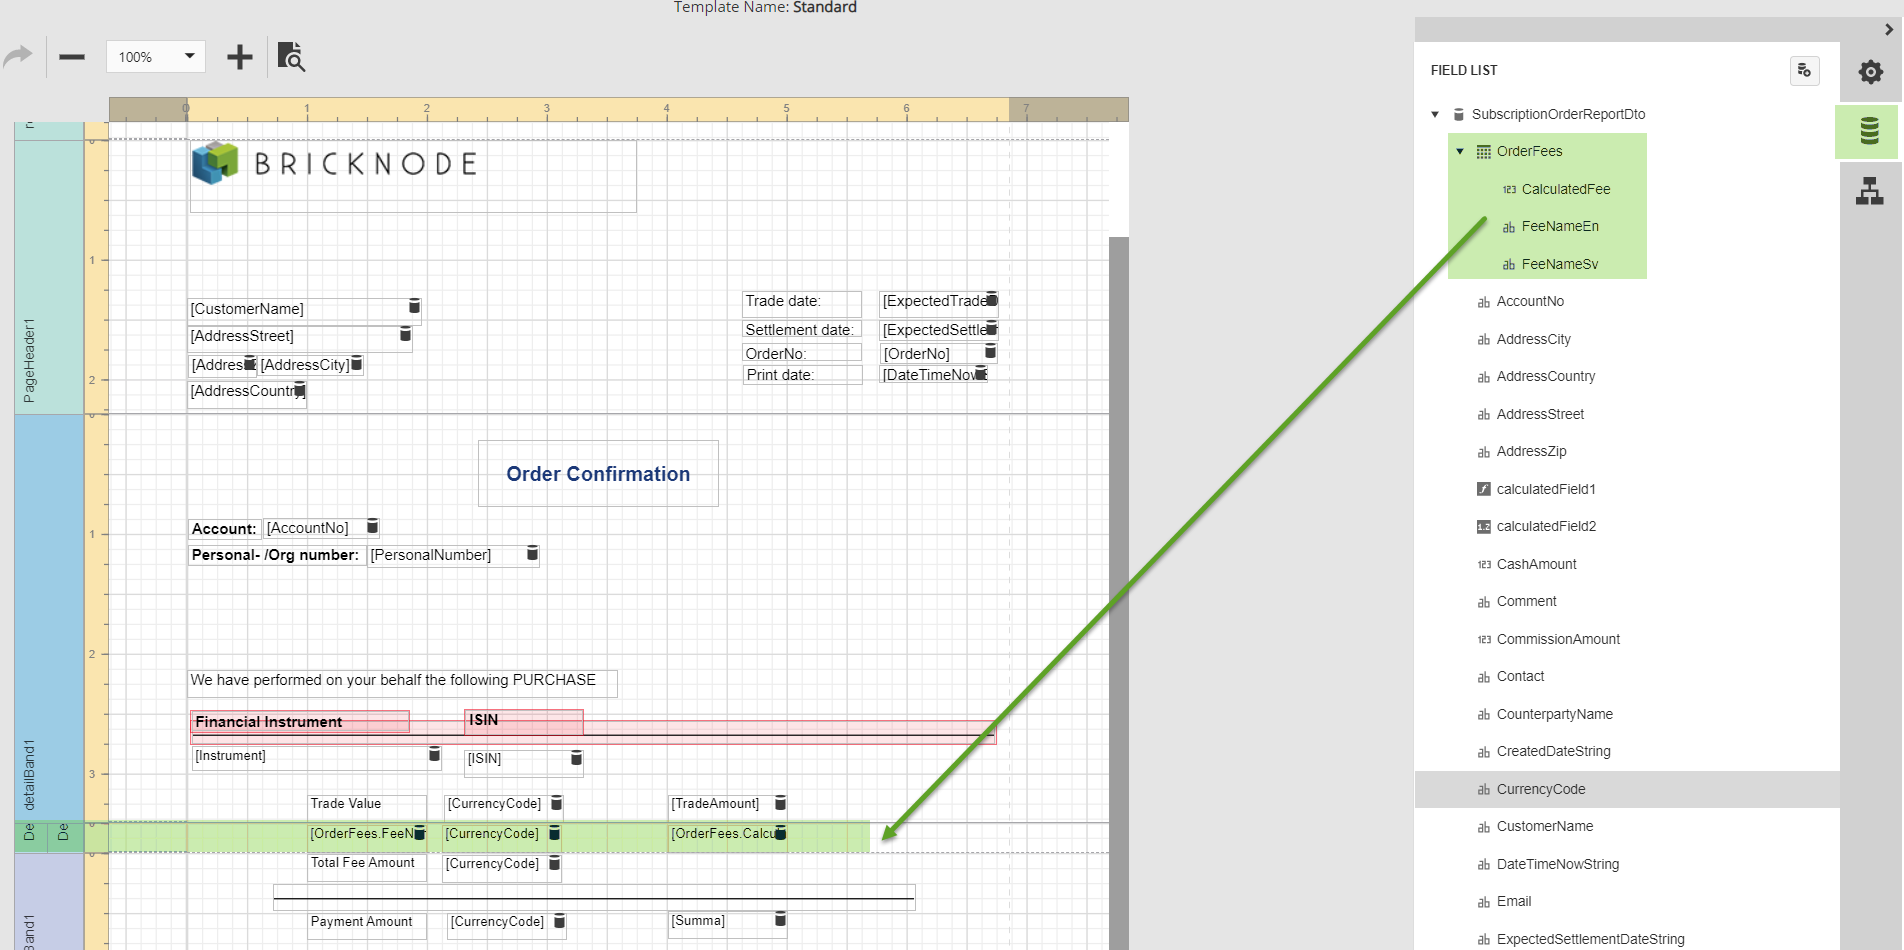
We also need to enter Data Source (SubsriptionOrderReportDto) and Data Member (OrderFees) for the Detail report band.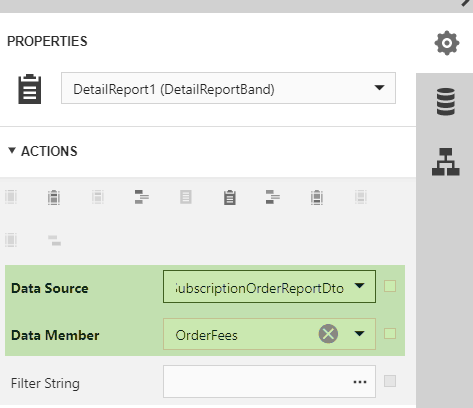
We also want to add the total fee amount. This property, OrderFeeAmount, contains the total fee amount of the order. If there is more than one type of fee on the order, this value contains the sum of all these fees.
When you are satisfied with your report you can navigate to Distribute to print your report.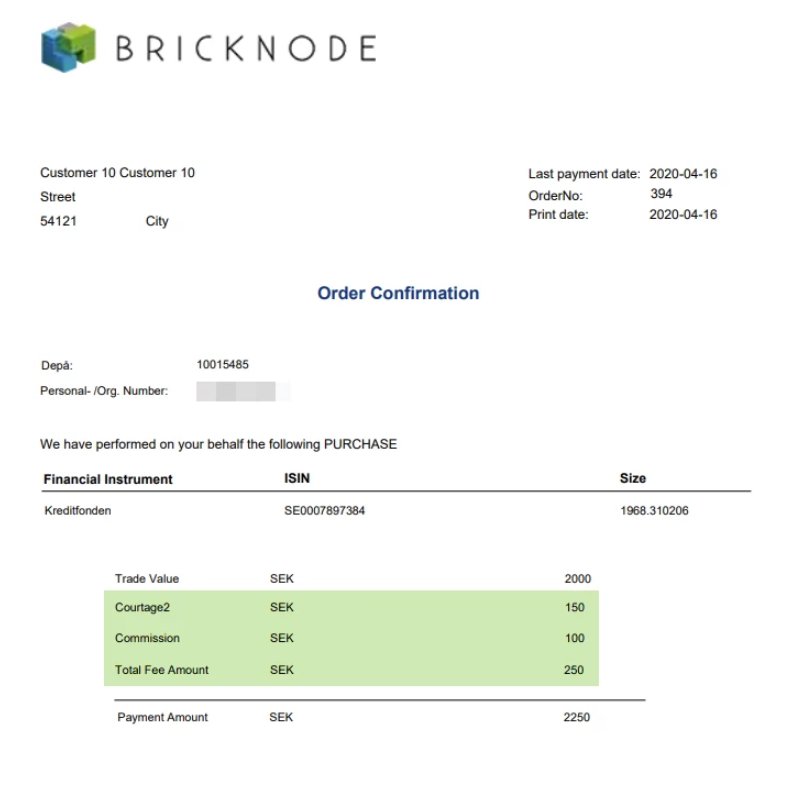
Calculated Fields
This document describes how calculated fields can be used in your report.
1. Create a calculated field. To do this, switch to the Field List panel, click a data table and then click Add calculated field button.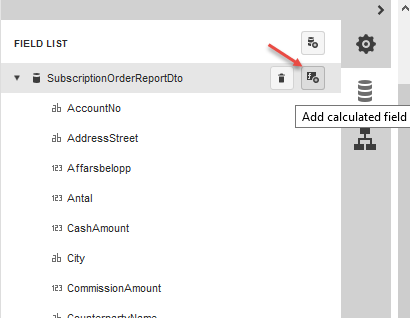
2. To specify calculated field properties, click the Edit button (the 'pencil' icon ) for this calculated field. Among its options, make sure to change the Field Type property to an appropriate value, we recommend double or decimal.
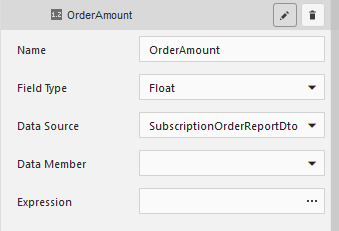
3. The value of a calculated field is obtained by evaluating its expression, which is specified by its Expression property. To create an expression for the calculated field, click the ellipsis button for the Expression property. Then, construct the required expression in the invoked Expression Editor.To add a data field or report parameter to this expression, double-click the required name in the Fields list. A data field is inserted into the expression's text using its name in [square brackets], and parameters are inserted using the "Parameters." prefix before their names.
To add operators between field names, use the toolbar or Operators list. To perform different string, date-time, logical, and math operations over data, use standard functions from the Functions list.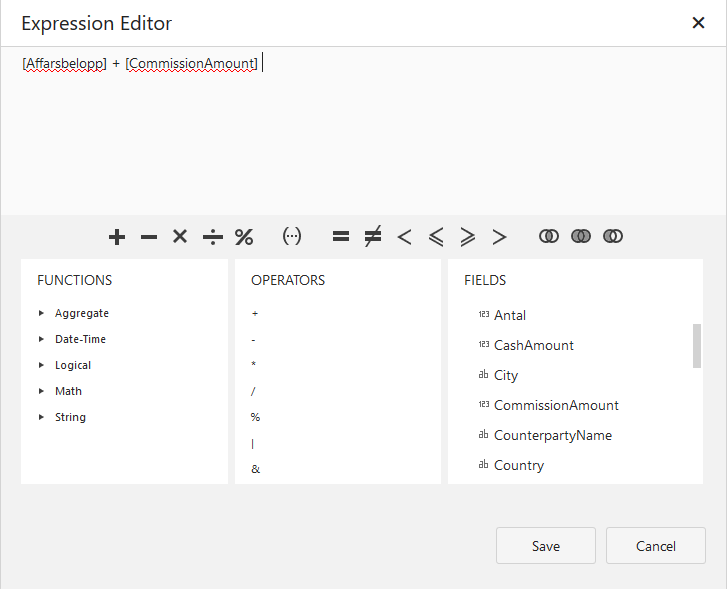
4. Now, you can use the calculated field as a typical data field, e.g., drop it from the Field List to create a Label control bound to this field, or even group, sort and filter your report against it.For example, create the following report.
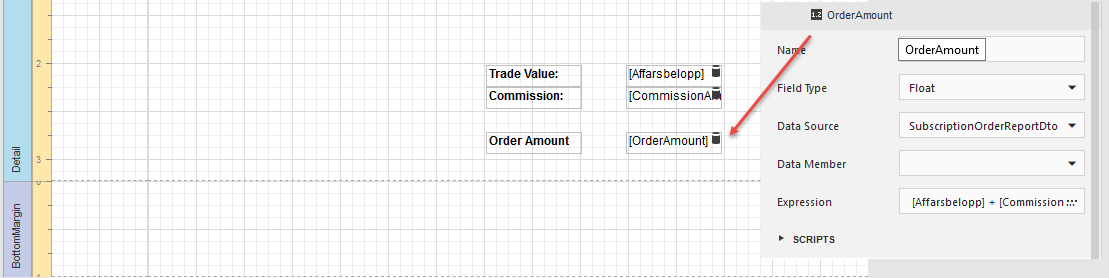
5. The report with a calculated field is now ready.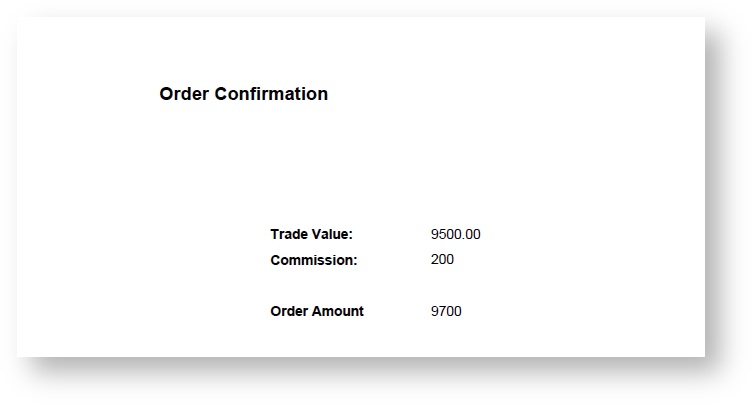
Related content
© 2009 - 2023 Huddlestock Technologies AB All rights reserved | Huddlestock Terms of use | Support portal