Adjust the Layout
- Lena Birath
Adjust the layout of Reports Elements and Page Layout Settings
This article describes how to customize the layout of a report element after it is created.
Add and Adjust a Report Element
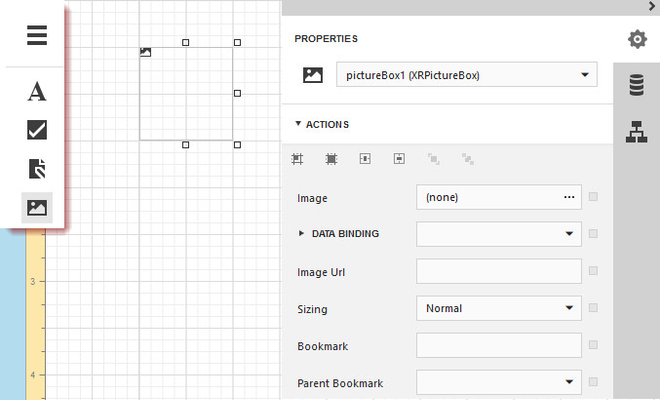
To add a control to the currently opened report, drag and drop it onto an appropriate report band.

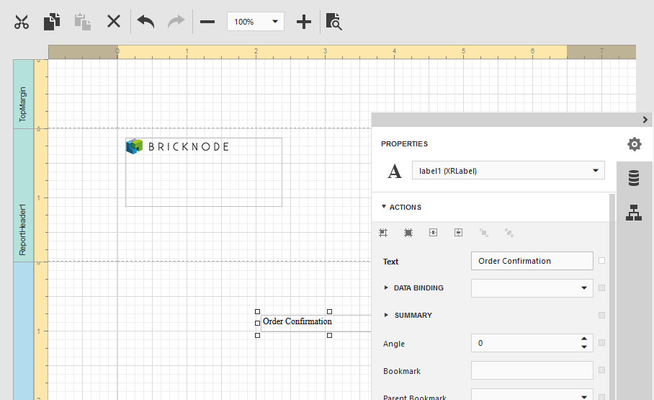
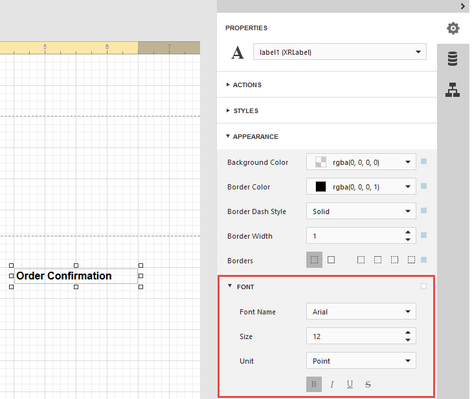
There is also a possibility to change the appearance of the text. Expand the Appearance category to change the font.
Select Report Elements
To select a report control or a band, click it.
For multiple controls selection, click report controls while holding the CTRL key down.
Alternatively, click on a blank space and drag the mouse to create a selection frame. When the mouse button is released, all controls within the selection frame's boundaries will be selected. In this case, the previous selection is cleared.

Move and Resize Elements
To move a report control, select it, and drag the control to the new location. To move it using the keyboard, press the arrow keys.

To resize a control using the mouse, select it, and then drag a rectangle drawn on its edge or corner.

You can also move and resize multiple selected report controls in the same way as individual controls.
To resize a report band, drag its bottom border.

After moving and resizing report elements, you may notice red warning marks, indicating that the controls overlap or go beyond the page margins.


Align and Position Report Elements
The Report Designer allows you to establish the distance between report elements and precisely align them to each other. To align the selected control or multiple selected controls, switch to the Properties Panel, expand the Actions category, and click an appropriate button.

To quickly align and resize a control to the report's Snap Grid, click the following buttons.
 | Aligns a control to the Snap Grid. |
 | Resizes a control to the Snap Grid. |
You can also adjust the Snap Grid Size, which is measured in the measurement units set for your report.

To center the selected controls within a band, use the following buttons.
 | Horizontally centers a control within a band. |
 | Vertically centers a control within a band. |
To position and align the multiple report controls to each other, select the primary control that is taken as a sample, then select the control(s) to be adjusted and click one of the following buttons.
 | Specify the horizontal (Left, Center or Right) and vertical (Top, Middle or Bottom) control alignment. |
 | Make the selected controls have the same size. |
 | Make equal horizontal and vertical spaces between the selected controls. |
 | Increase horizontal and vertical spacing between the selected controls. |
 | Decrease horizontal and vertical spacing between the selected controls. |
 | Remove all horizontal and vertical spacing between the selected controls. |
In addition, to copy, paste and delete controls simultaneously, you can place them within the Panel.
Adjust Page Layout Settings
In the Report Designer, you can change page layout settings before you print a report.
To specify the report's page settings, switch to the Properties Panel, and in the Report Controls drop-down list, select the report. Expand the Page Settings category and adjust the following page settings.

Paper Kind
You can select one the predefined paper sizes or specify a custom paper size. To create your own paper size, set the Paper Kind property to Custom, and then specify the Page Width and Page Height properties.

Margins
To modify page margins, specify the Margins property or move sliders on the horizontal and vertical ruler in the report's Design Surface.

The margin values are expressed in the report's measurement units.

Roll Paper
If this flag is enabled, the document is supposed to be printed on a roll of paper (i.e., as a single uninterrupted page). This setting will affect the corresponding page options (such as the page number values), as well as disable page-specific commands in the Print Preview (i.e., the Navigation and Multipage Mode options).
Landscape
This flag determines whether the page orientation is Landscape (when enabled) or Portrait (when disabled).
Create Hyperlinks
How to embed a hyperlink into your report. Note that a label will behave as a hyperlink both in a report's Print preview and when the report is exported to PDF, HTML, MHT, RTF, XLS and XLSX.
To insert a hyperlink into your report, do the following.
Drop a Label onto a report band, and in the Properties Panel, change its Text to the one required for the link.

In addition, to make the Label look like a typical link, you can change its appearance appropriately (e.g., make it blue and underlined).
Now, in the Navigation section, set its Navigation Target to the required value (_blank, _parent, _search, _self, or _top) and define the required Navigation URL.

Your report with the hyperlink is now ready. Switch the report to the Preview mode and view the result.

Related content
© 2009 - 2023 Huddlestock Technologies AB All rights reserved | Huddlestock Terms of use | Support portal